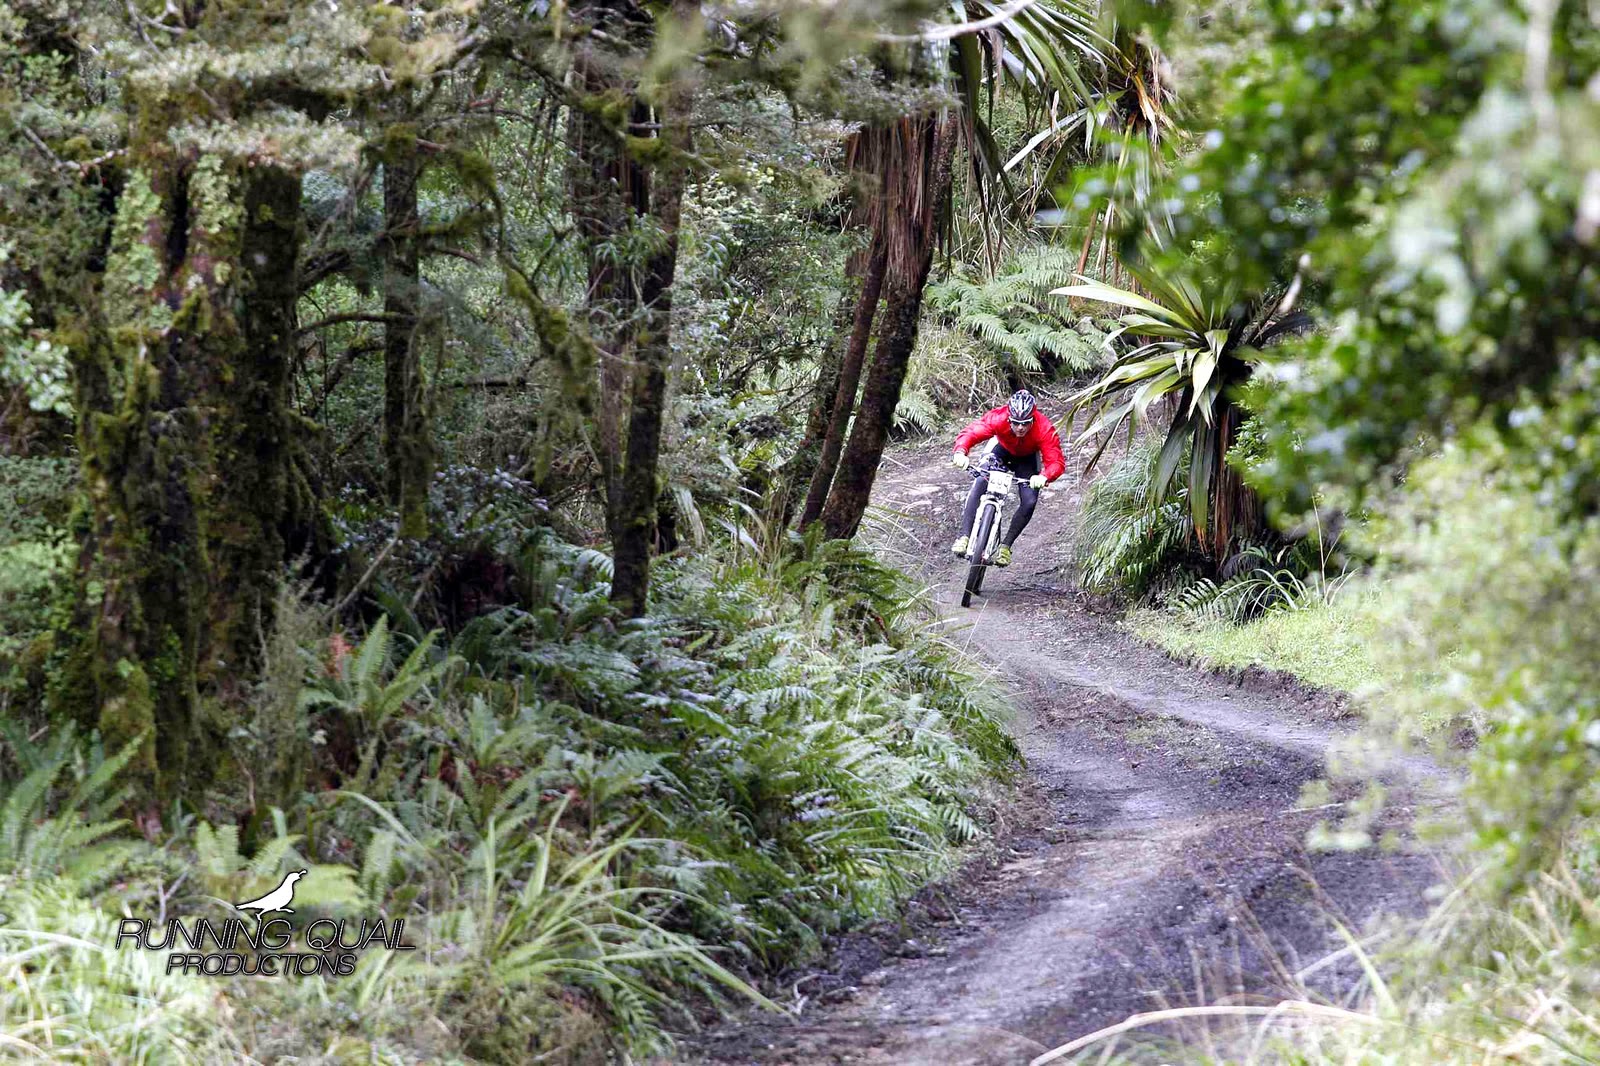
As I found out in my
2014 Kiwi Brevet, there is nothing worse than having Achilles problems on the bike. I had done two previous
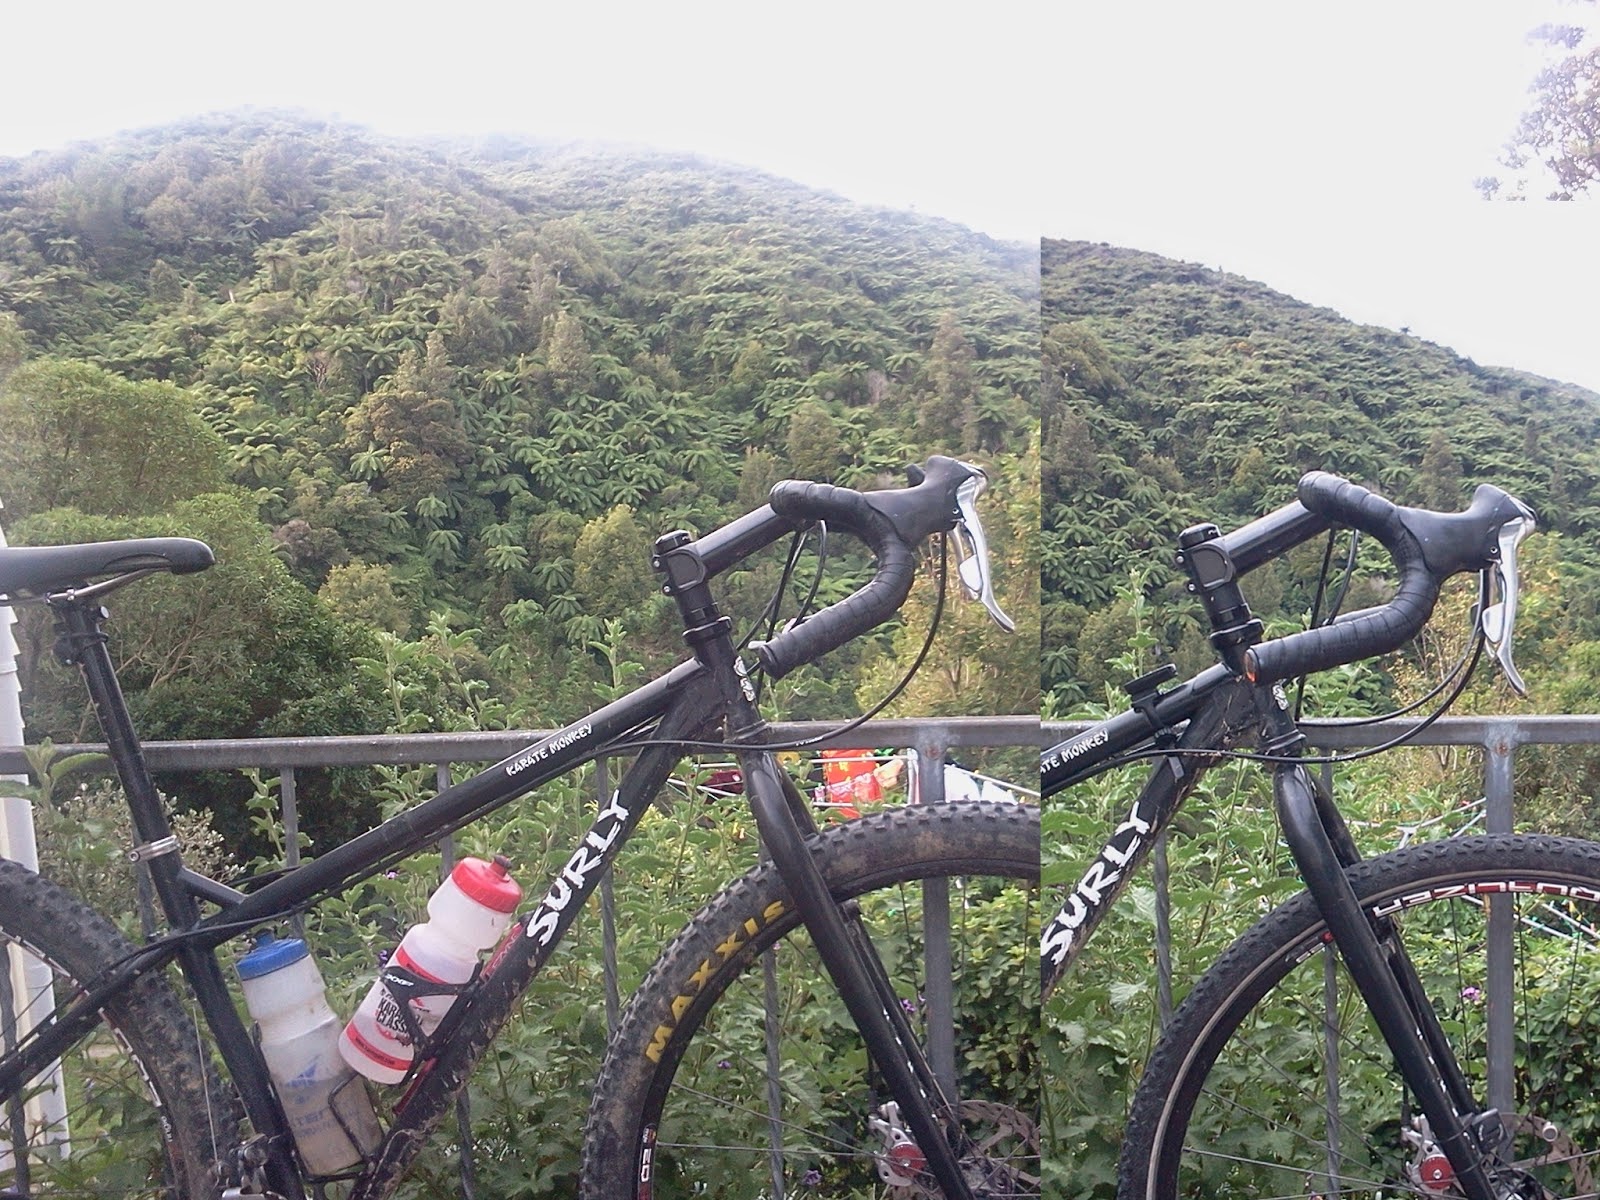
KB's without a hint of it. I couldn't pin it down to any one thing, because I had changed too many variables, going from a 26er fully to a rigid drop-barred 29er, Time pedals to Crank Bros, and different shoes. It didn't stop me from riding, but I could tell that I was doing damage that I was going to have to pay for. The one thing I did know, after 2 months of rehabilitation where even walking was a chore, I didn't want to go there again. Spending my tea-breaks doing
eccentric heel-drops in the stair-well wears thin after the first month.
My fear of its return has prompted me to do a bit of research. I read a few ride reports and asked a few questions. If it's something that afflicts even the good guys then you know its not about physical preparation, although it could still be about bike fit.
As with many things in bikepacking, including saddle-tolerance, you really don't know what is going to happen to you until you have done more than about 2.5 good long days in the saddle.
I remember reading Josh Kench's book about his attempt at RAAM and how earlier in his build up he suffered from severe Achilles problems. His Coach recommended he shift his cleats back. In this years Tour Divide a local Kiwi rider Greg Galway, was one of the many riders to have a similar problem, once again, his coach, the same coach, Silas Cullen recommended the same treatment.
I aim to ask a few of these hardy riders of their experiences with Achilles pain, what they did and what they suggest, then I'll ask Silas for some of his ideas about what is happening and what he recommends.
For a bit of background on cleat placement, the following comes from Steve Hogg who is a bike-fit guru in Australia. I am not aware of him having any particular involvement in bikepacking but his ideas seem to be being adopted anyway. He has been promoting moving cleats rear-ward for many years, long before the Enduro riders had adopted it, for completely different reasons I imagine. When I say "Enduro" I mean guys who rip down hills fast on MTBs with 6 inches of travel. Read Steve Hoggs whole article here :
https://www.stevehoggbikefitting.com/bikefit/2011/04/power-to-the-pedal-cleat-position/ . My simple interpretation of his writing is that he says the foot is a poor lever, and the further back the cleats are, the less work the muscles have to do to stabilize the lower leg.
Some "case studies"
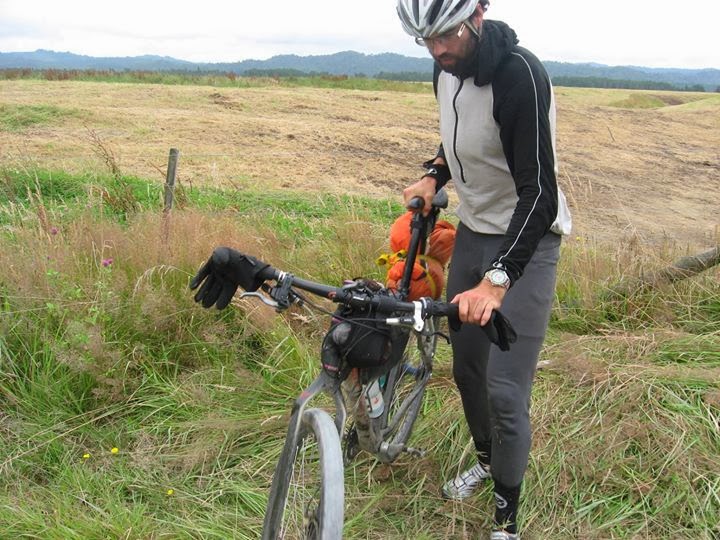
Simon Kennett brought bikepacking as we now know it to our part of woods after finishing the 2008 Great Divide in 3rd place. There was a fair bit of snow that year, and one thing that many people agree on, walking through snow is a killer. In fact hike-a-biking in general is really rough on your Achilles.
![]() |
| Simon Kennett Great Divide 08 |
Some comments from Simon:Yes. At the end of day three of the Great Divide Race, I remember mentioning it to the guy I was riding with at the time. He asked if I might have to pull out, to which I replied there was absolutely no way I was pulling out of this race. Being stubborn can take you a fair way. Luckily there was no walking through snow drifts for the next three days. It came right. I took an anti-inflammatory pill, gave my calf a massage, and rode at a slightly easier pace for the first hour the next day. I vaguely remember 'icing' it with a cold drink at one stage, too.
Are there other things you did which you think helped?Don't spend time pedaling hard while on the aero bars or drops until well warmed up.
Are there things that you would do, or recommend others do to make sure that they don't experience these agonies. Eg, a stretching regime, a professional bike fit, moving cleats back, certain pedals or shoes?Stretching before injury is a good idea, but take care with stretches immediately after injury. Having cleats positioned just behind the ball of the foot should help with Achilles problems, as would a heel wedge in your shoe. While first warming up in the morning, just place the arch of your foot over the pedal and soft-pedal for a few minutes. Consider playing with your seat position. It's a good idea to include some walking in the weeks building up to the big ride. If you have a history of Achilles problems, look for shoes with a little bit of flex in the soles and big heel lugs.
http://www.kennett.co.nz/----------------------------------------------------------------------------------------------------------------
Another Kiwi,
Oli Whalley broke the Tour Divide record in his rookie year finishing 1st.
Ollie, I wonder if youv'e had any issues with Achilles pain in your adventures?Yes, in the 2012 Tour Divide.
What worked to alleviate your pain?I jammed my cleats back on my shoes. Fortunately the guy I was riding alongside, Craig Stappler also told me how I could strap my Achilles.
Are there adjustments that you made after the occurrence that you have stuck with to this day?Yes, I now do all of my riding with the cleats back these days, and carry strapping tape in the big events.
Do you have any recommendations for up and coming riders?Stretches are good, but strengthening is also important. 30 calf-raise reps on a step 3 times a week is what I do when he is in prep mode.
Ollies Blog.
----------------------------------------------------------------------------------------------------------------
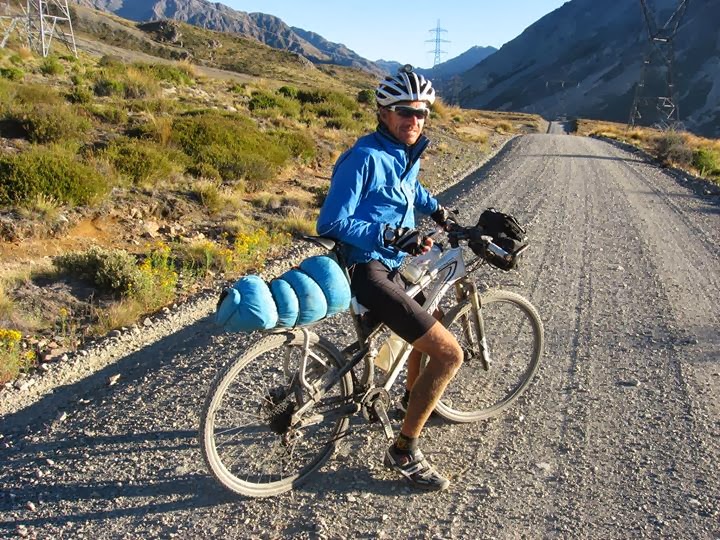
![]() |
Nathan Mawkes.
Image from Chris Charles |
Nathan Mawkes has done the Tour Divide twice, and while this is not meant to be just about the Tour Divide, it does seem to be a sure-fire way to mess up your Achilles.
Nathan, I wonder if youv'e had any experience with Achilles pain?Yes, during Tour Divide in 2012, there was a lot more snow that year up north which resulted in a lot of pushing your bike through snow for quite a few hours at a time, narrow and fairly rigid XC oriented bike shoes are not the ideal shoes due to the lack of stability in soft snow, the minimal flexibility also resulted in the foot having to work harder to stabilise, and hence begin to fail.
What worked to alleviate your pain?Pain killers and perseverance, enjoy the scenery / journey.
Are there other things you did which you think helped?No, by the end I had worn away the protective sheath in both Achilles and was struggling to walk. but I could still ride.....
Are there adjustments that you made after the occurrence that you have stuck with to this day?when I returned to Tour Divide again in 2013 I went with a wider soled shoe. with a slightly more flexible sole, this made any hike a bike sections, or even walking in town more enjoyable, since then I've used 4 different models of mtb shoes but keep gravitating to those with wide flexible soles, my current favourites are Pearl Izumi X-Alps
Are there things that you would do, or recommend others do to make sure that they don't experience these issues?My Achilles issues were more the result of hike a bike, if anything the controlled motion of the bike was less of the cause.
Are you an advocate for strapping your Achilles in an event if it flares up and you know what to do? I do carry strapping tape but I would be unlikely to use it unless there was a lot of time off the bike.
----------------------------------------------------------------------------------------------------------------
Geoff B from down south.Although I’ve been lucky enough to have done quite few events and missions now (4 x 1100km brevets, 4 x 300km hilly Petite Brevets and the Tour Divide once) I still class myself as a novice in the bikepacking world rankings.
Have you had any experience with Achilles pain?I’ve only had one occurrence of real Achilles pain and this was in my first long brevet and after a sustained hike a bike. Luckily the pain wasn’t major and it preceded a short rest time and then there wasn’t any more hike a bike so with a little “soft pedalling” the pain was manageable and then went away.
Do you think soft pedalling would work for most people?Yes, depending on how bad the pain is, I would think most riders can pedal through it, but they may have to ease off a bit, revise their expectations downward and follow the other suggestions below.
What other things did you do which you helped?Icing and strapping can also be beneficial. Some riders are fans of anti-inflammatory drugs like ibuprofen but I’ve personally stayed cleared of these, although I have taken paracetamol which has helped with minor joint issues as well. Every night in the TD when available my companion would beg, borrow or steal ice to ensure he could ice all his affected areas, I think this was probably a very good idea.
Are there adjustments that you made after your problems that you've stuck with?There is a strong argument to having your cleats in the most rearward position, and I always have them in that position anyway. But if you don’t and do experience Achilles pain I do suggest you try moving your cleats back.
Are there things that you would do, or recommend others do to make sure that they don’t experience these problems. E.g. a stretching regime, a professional bike fit, certain pedals or shoes?We’ve always wondered why so many riders are affected by Achilles pain and other joint issues early on in events like the Tour Divide; one explanation seems to be the hugely increased mileages these riders are trying to achieve in the first few days compared to what they are used too. I think mileages need to be built up prior to the event and then slowly loaded mileage, hike a bike and loaded hills need to progressively added to a new rider’s program.
I’m sure that stretching would be very beneficial (not speaking from experience though) especially calf stretches, as would a upper body strength program as most riders wouldn’t believe how strong you need to be to manage a loaded bike for days on end.
Professional bike fits sound a reasonable suggestion, but I suggest caution in finding someone that caters to the needs of the bikepacker that may be different to those of an XC racer or road cyclist.
Definitely move cleats back; use shoes that are bigger than you normally would as your feet will swell; pedals should ideally offer some support, although many of us just use standard XC race style pedals; shoes should be comfortable and able to be walked in (uphill pushing a loaded bike), I prefer softer enduro style shoes with good grippy soles now rather than carbon soled xc racer types.
Above all ride your bike (lots), experiment with different seats, aero-bars, supportive handgrips and bar ends, as this will give you multiple hand / seating positions that will help to spread load on not just your Achilles but hands, butt and knees as well. (Probably another topic here).
Are you an advocate for strapping your Achilles in an event if it flares up and you know what to do?Personally I don’t strap unless I have too, although as I know my Physio well, I asked for instructions on how to strap my Achilles, ankles and knees before I started the TD. There was a huge amount of strapping tape used in the TD, not sure if it helped… looked good though and that’s important too ; )
One of the best solutions I heard of was from Katie and Sam (the tandem riders from TD 2014), they fashioned a rubber glove to form a stretchable strapping to take pressure of the Achilles, by all accounts it worked a treat.
Editor (GB was 4th in the 2014 Tour Divide at age 49).
-------------------------------------------------------------------------------------------------------------------
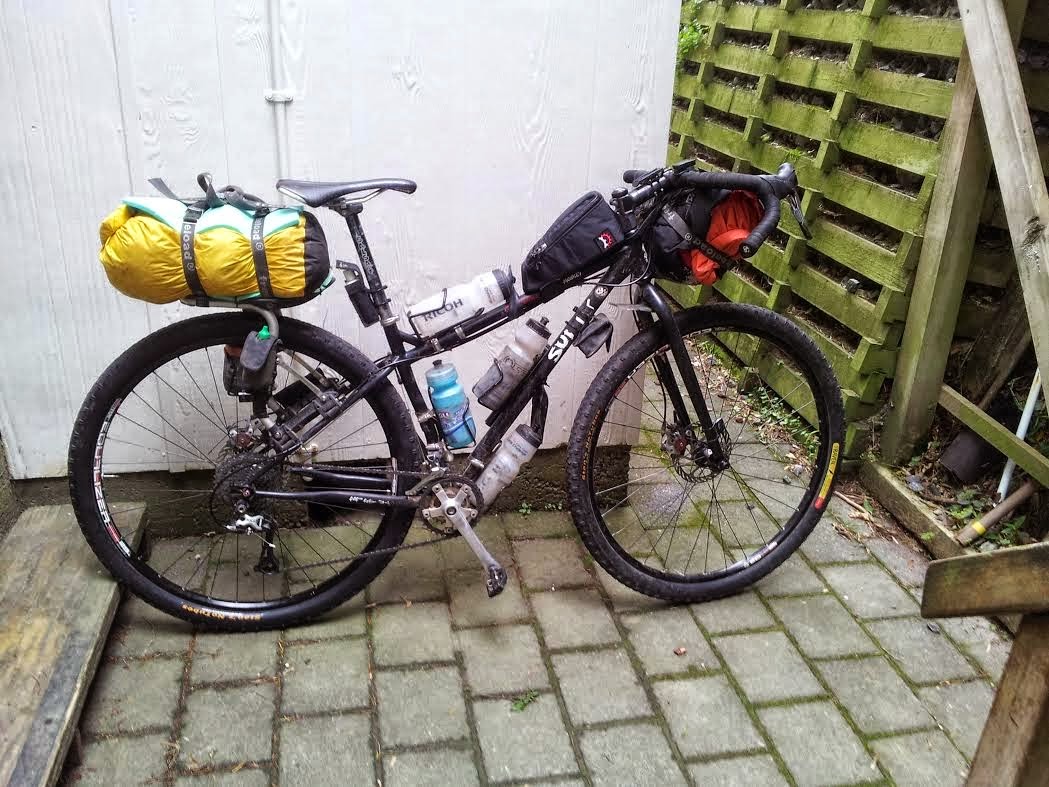
![]() |
| Neil Beltchenko |
Neil Betchenko already has an impressive history in endurance events and came 3rd in his rookie year in possibly the most nail-biting Tour Divide ever.
I wonder if youv'e had any experience with Achilles pain?Yes, lots of times. It used to be because of cleat position, now its because of over use. My situation is a bit more different however. when I was in middle school, I got surgery on my feet. They added an extra piece in my foot to give me more of an arch. Because of this, they had to snip and extend my Achilles (sounds gross). So in general, i believe my Achilles flares up more so then the next person.
What were your experiences and what did you do to alleviate it at the time?The easiest thing I did was to push the cleat all the way back in the shoe. This inhibits excessive movement in the Achilles which will put less stress on it. It also does not effect your power all that much, although a power test could determine if it truly does or not. Other things I like to do is wear compression socks, this proves to delay the the "creak" of my Achilles.
Do you think this advice would work for most people?Yes, both of those tidbits were given to me by bike fitters.
Are there other things you did which you think helped?When I was on the Divide, I got some serious creaks in my right Achilles. I never considered wrapping them but I did put on two straps of
Salonpas on each side every morning to deal with the pain. It worked wonders for me.
Are there adjustments that you made after the occurrence that you have stuck with to this day?I just always put my cleats back and also use after market insoles, that give me more support when I'm walking. A big part of bikepacking is hiking with your bike, you need good insoles and good shoes, importanto!
Are there things that you would do, or recommend others do to make sure that they don't experience these issues?I can't stress how important a bike fit is, and before you go into your fit, make sure you are using a shoe that is broken in, not new. But above all, experience is the most important, get out there, hike with your bike, ride 100 miles. do what it takes to experience the pain and work from there.
Are you an advocate for strapping your Achilles in an event if it flares up and you know what to do?No, never have.
Neils site:
http://bikepackersmagazine.com/-------------------------------------------------------------------------------------------------------------------
2015 TD rookie Greg GalwayI’m new to this bike-packing endurance cycling and I’m learning all the time from others. I didn’t hear of many Achilles issues in my last TD, but knees came up quite often.
Achilles Pain: Yes I had a problem at this years TD. It felt like I was getting a blister where my shoe rubs my Achilles. At first I didn’t think too much about it (used a couple of plasters) but it got worse. I had taken some strapping tape and learn't how to strap it. Just like that the pain slowly disappeared (got to have shaved legs) :)
Knees: Major problems, this could also have contributed to my Achilles as well (don’t know).
Move your cleats back"MOST IMPORTANT”
Cleats are back to normal at the moment but will move them back early in the new year for a couple of longer training rides.
Stretching: Knee on floor, foot against wall, straighten body up. This is from my coach Silas Cullen of
Smart Coaching. Once I did this I was problem free for the rest of the TD.
My coach also recommends a lot of high cadence in training. Go for a ride then spin at 100+rpm for last 10-30min with no load (as many muscle contractions as possible) This can be harder than the ride itself. It also helps with endurance training. Hopefully this can help others.
So I forwarded the above stories and a few questions to
Silas Cullen and
Steve Hogg to get some ideas on what is actually happening, and to see if they could make any recommendations, short of obviously getting a proper bike fit. Up front these guys will tell you they are not
bikepacking bike-fit experts, but they are very experienced in related issues. Read more about them and what they do here.
http://www.smartcoaching.com and
https://www.stevehoggbikefitting.com/---------------------------------------------------------------------------------------------------------------
Achilles pain in Endurance RidersComments by Cycling Coach Silas Cullen
Who it affectsAchilles pain can affect any rider, but it tends to come on more frequently with endurance riding and even to riders who have never experienced it before. Endurance riding is incredibly demanding on the body, so it’s not surprising that it starts to complain if things are not set up right.
Overuse injuries or “repetitive strain injuries” need two things. Firstly “many repetitions” of the same thing, that’s why they’re called overuse… Secondly with “poor range of motion” or too much load in one specific area, that’s why there’s an injury.
What Causes it1. Tightness in the backThe back feeds all of the electrical signals to the muscles. It must be in good health for the body to work properly. When riding all day typically the hip flexors tighten creating that well known “duck bum” or sway back posture. This can pinch the sciatic nerve which can cause pain all the way down the back of the legs including the lower calf area. This won’t cause pain in the tendon directly but certainly in the connective muscle around the tendon. If range of motion is changed then the tendon may then become inflamed. If a rider also has a tight sensation in the hamstrings then this is almost certainly the cause.
2. Movement at the footWithin the pedal stroke riders have varying degrees of movement where the foot may rotate slightly externally or internally within the pedal stroke itself. This might normally be ok but when faced with many hours of riding and the load associated with the fully loaded bikepacking style of endurance riding, inflammation can occur.
How to prevent itTo prevent the sciatic nerve being pinched through poor posture we stretch the muscles which are tightening and causing this problem - the hip flexors! These powerful muscles are not easy to stretch and concentration is needed to perform correct technique. Posteriorly rotating the hips and stretching the upper thigh. If the back is swayed during a hip flexor stretch, then the hip flexors are not being stretched. It is easy to get this wrong. Link
here.
Secondly, maintaining general back mobility will help a lot. Gently twisting, extending and flexing the back and maintaining range of motion is essential for a healthy spine and is a good idea to do anyway.
To prevent movement at the foot being the cause, we can decrease the load through the foot by pulling the cleats back as far as they’ll go. I have had many athletes re drill holes in their shoes to get there cleats even further back. This may seem extreme to some people, but so is riding for ten hours a day for a month on a 25kg bike, or riding for forty hours non stop as fast as you can go…
The other thing we do when moving the cleats back, is that for the same angle change at the foot within the pedal stroke, the heel moves a lesser distance. For example if the foot changes angle by 2 degrees to a more toes out position at the top of the pedal stroke, the heel will move in (closer to the bike) a given distance. The further back the cleats, the less this distance will be. This decreases any twist slight twist through the Achilles which may also help reduce inflammation.
What to do when it happens during a rideMove the cleats back on your shoes as far as you can to alleviate the pressure put through the calf on each pedal stroke. It may also feel good to put the seat forwards just a few millimetres at the same time. This because then the cleats go back the hamstring and calves may feel ever so slightly more stretched out. By moving the seat forwards we bring the body forward as well as the foot (cleats back means foot forward), maintaining the same balance. Be aware that this will slightly increase the load on the arms and hands, but an endurance setup should always have plenty of options for hand placement - to move around.
Bikepacking endurance riding has one key element and goal - “keep going”. If we can eliminate the pain and cause no other discomfort, then we eliminate the problem and a rider can continue uninhibited.
Silas.
---------------------------------------------------------------------------------------------------------------
![]() |
| Steve Hogg |
I mentioned
Steve Hogg earlier. He really is one of the top bike-fitters in the world and has been nice enough to contribute to this discussion at short notice, with some very useful advice and links on bike set-up. See a few bullet-points on common issues, and links to more info on his
site. You could spend a week reading all his stuff.
Steve Hogg:I see a reasonable amount of Achilles tendinitis in first time fit clients and the aspects of bike fitting that play a part in the problem are, in no particular order:
1. Seat height. The majority of riders sit too high. The typical unconscious response to this is to sit less squarely on the seat so that one leg reaches okay to the pedals and the other side over reaches even more so. It is typically the less favoured leg (the one the rider hangs away from) that feels the onset of Achilles tendon problems first. For a simple method of accurately setting seat height, see this link.
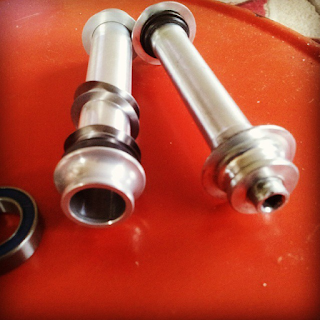
https://www.stevehoggbikefitting.com/bikefit/2011/02/seat-height-how-hard-can-it-be/2. Cleat position. The shorter the foot as a lever, meaning the more rearward the cleat position, the less likelihood there will be of developing Achilles tendon issues. If you want a 'rule of thumb' for bike packing, move the cleats as far back on the shoe as they will go. More info here.
https://www.stevehoggbikefitting.com/bikefit/2011/04/power-to-the-pedal-cleat-position/3. Arch support. The need for arch support is under appreciated. Humans have not evolved to apply force to rigid cycling shoe soles for long periods of time. Additionally, there is no brand of cycling shoe that comes standard with arch support insoles that will properly do the job for a majority of riders. More info here.
https://www.stevehoggbikefitting.com/bikefit/2011/02/foot-correction-part-1-arch-support/4. Tight calves. The tighter the riders calves, the greater the chance of incurring an Achilles tendon injury.
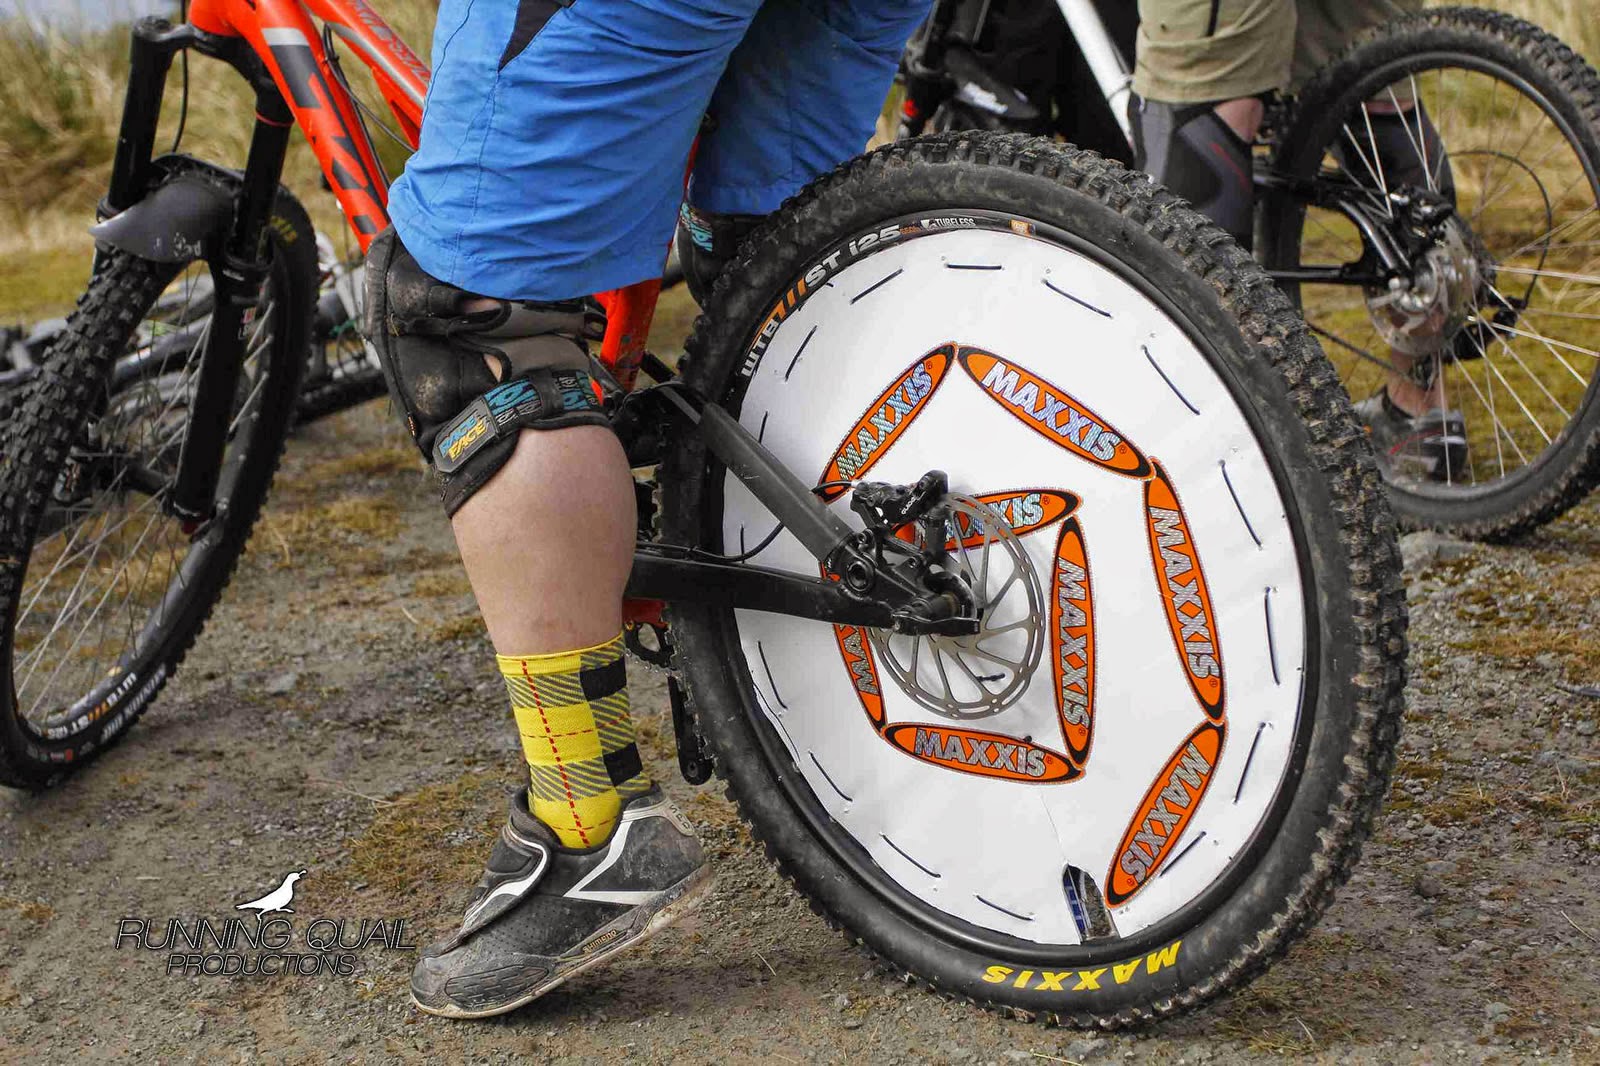
5. Pedals. Trail / AM style clipless pedals with a platform of sorts around the pedal (think XT/XTR Trail, Crank Bros Mallet etc) offer greater foot on pedal stability than do straight out XC clipless pedals
6. Seat setback plays a part and I'm of the view that many mtb's have too slack a seat tube angle which is why many mtb'ers run zero offset seat posts. If seat setback is too great when climbing really steep off road trails, then the entire rear kinetic chain (gluteals, hamstrings and calves) is overworked. If the rider has other risk factors (poor cleat position and / or too high a seat and / or etc, etc) this can be enough to push them over the edge in to an Achilles tendon injury.
------------------------------------------------------------------------------------------
Editor: Wow. Looking at that, I suspect I failed in at least 4 of the 6 bullet-points outlined above in my last Kiwi Brevet.
I think there is more than enough in here to make us realise how vital it is to have our positions sorted out as much as we can when taking on these kinds of challenges. Hopefully there is something in here to help make your next event as pain-free as it can be. Thanks heaps to Silas and Steve and the guys who shared their real-world experiences.